How to self-register
Install BIFIT Signer on your computer before accessing the online bank. When you first sign in to the system, a notification with a BIFIT Signer download and installation link will appear.
To register, click Registration and ES generation on the start page.
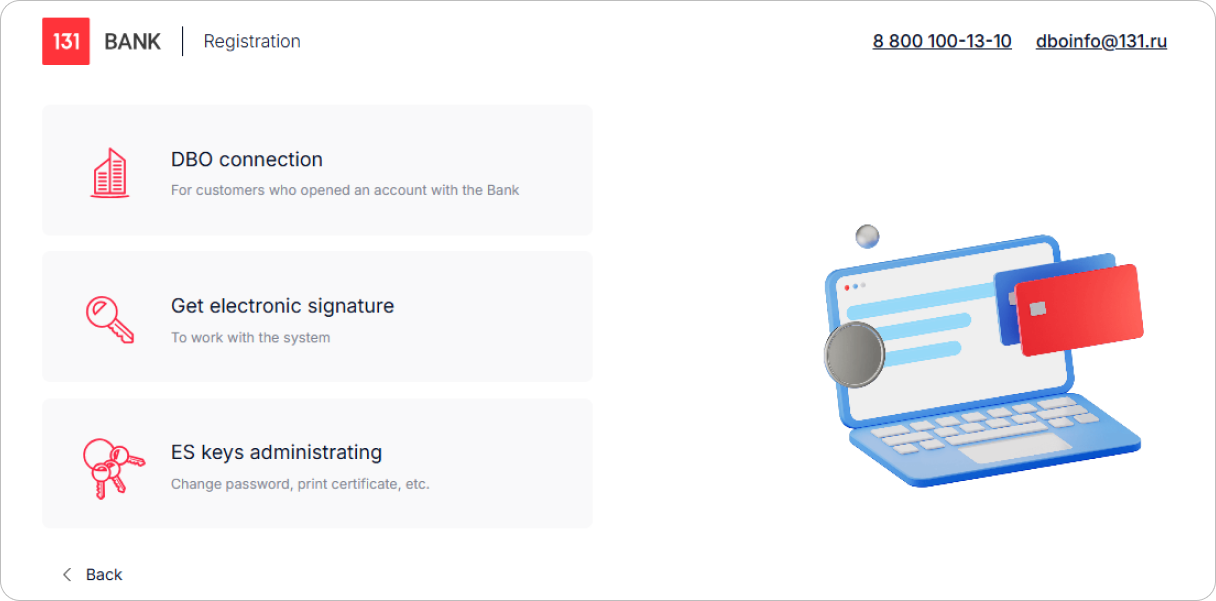
On the Registration page, select DBO connection, and then choose the type of electronic signature (ES) you want to create:
- ES key in a file storage or on a hardware device
- Cloud ES
How to register and create an electronic signature
To register in the system, follow these steps:
- Select the organizational form.
- Enter your organization's details. Mandatory fields are marked with * (they depend on the selected organizational form).
- Add your organization's ruble and foreign currency accounts. Enter the account number in the corresponding field and click Add.
- Provide information about the contact person.
- Enter a blocking word. This word is used for authentication in case you call the bank to temporarily block your account.
- Verify the entered information. Click Back to make corrections if needed.
- Provide the ES key owner's details. Mandatory fields depend on the selected organizational form.
In the following steps, an ES for online bank access is created. The procedure differs depending on whether you chose to create a cloud-based ES or an ES in a file storage/on a hardware device.
- ES key in a file storage/on a hardware device
- Cloud-based ES
- Select the storage for the ES:
- Hardware device. Connect the device to your computer and the serial number of the device will appear in the field below. To select another device, connect it to the computer and click Choose.
In the BIFIT Signer dialog, enter the PIN code for the key storage.Only devices issued by Bank 131 are supported.
- File on drive (use the Choose button to specify the path to the required file).
- Hardware device. Connect the device to your computer and the serial number of the device will appear in the field below. To select another device, connect it to the computer and click Choose.
- Specify a name for the created key. It's recommended to use the key owner's name and the year of its creation.
A single key storage may contain multiple ES keys.
- Set a password for accessing the ES key.
If a file key storage is selected, the first key is created by a biometric random number generator. Press the orange circles until the indicator bar reaches 100%.
Your ES on a hardware device is created automatically. - Print the Certificate of Electronic Signature Check Key (check the Print the certificate field). To save a printable version of the certificate, click Save the certificate.
If multiple signatures are required for documents, you'll need the corresponding number of ES keys. To create additional keys, check the Make another ES key and ES check key box: once the registration is complete, you will get back to the first step.
- Provide an email and phone number. These are needed to create an account for signing in with a username and password.
- Review the terms of the agreement with the Bank for storing and using the ES key, and check the I agree with the terms of agreement box.
- Specify the ES name and set a password.
- Print the Certificate of Electronic Signature Check Key (check the Print the certificate field). To save a printable version of the certificate, click Save the certificate.
If multiple signatures are required for documents, you'll need the corresponding number of ES keys. To create additional keys, check the Make another ES key and ES check key box: once the registration is complete, you will get back to the first step. - After the Bank processes the application, an email with a confirmation link will be sent to the provided address. The link is valid for 24 hours. Follow the link and confirm your phone number with an SMS code and then set a password to access your bank account.
Once you have completed all the steps, a page with a notification on successful preliminary registration of a new customer will appear.
In the printed certificate, fill in the ES key owner's information, check the I confirm the reliability of the data field, then sign and apply your organization's seal. Send the certificate and the Application on Adherence to the Regulations on Remote Banking Services to the Bank to complete the registration. The Bank's employees will verify the submitted documents and enable the ES key.