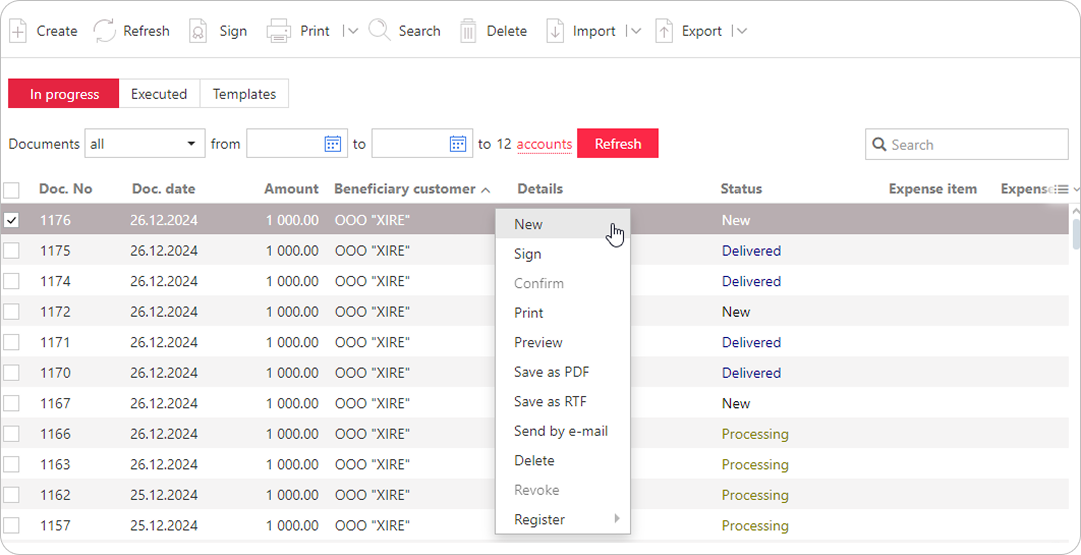
Operations with documents
Most document operations can be performed using the action bar at the top of the screen or from the context menu.
Creating a document
To create a document, fill in the form fields and save the document.
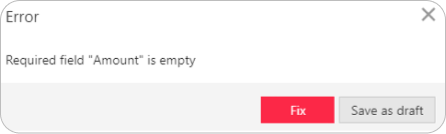
If errors occur during saving (e.g., a required field is empty or has an invalid value), an error message will appear. Such a document can be edited or saved as a draft.
You can create a new document based on an existing one. To do this, click Copy on the form page of the desired document. A new document will be created with the fields pre-filled from the original.
Editing a document
Documents in the statuses New or Signed can be edited.
Any authorized employee can edit documents in the New status.
Partially signed documents can be edited by employees whose signatures are included in the signing combination for that document. When edited, all existing signatures are removed.
If a document's signer loses their signing rights or is removed from the signing combination, and the document is not yet marked as Delivered, it becomes inaccessible for signing. However, it can still be edited by authorized employees.
Signing a document
Note: Ensure that your hardware device with electronic signature (ES) is connected to your computer before signing. If a document's required number of signatures is reached, but its status does not change to Delivered, it may be due to changes in signing permissions or configurations on the Bank's server. In this case, the document can no longer be signed but remains editable for authorized employees.
Depending on the document type, the employee's signing rights may be determined by:
- Payment documents: based on signing combinations configured for the account used in the document.
- Non-payment documents: based on predefined signing requirements and employee permissions.
Once a document requiring multiple signatures is signed by a single employee, it gets the Signed status. When all required signatures are obtained, the status changes to Delivered.
Confirming a payment order
Confirmation adds extra security for payment orders and may be used in addition to the ES.
To submit a document exceeding a certain amount, you will need to confirm it using Vestochka app, a BIFIT MAC token, or an additional confirmation code (generated by the token or sent via SMS).
The status sequence may go as follows: New → Signed → Requires confirmation → Delivered → ...
Confirmation is available only for Payment orders. It is performed after the document obtains the necessary signatures, either immediately or later.
When confirming, it is necessary to compare the actual details of the document with the details in Vestochka app, on the screen of BIFIT MAC token or SMS message with confirmation code. The actual details are displayed in the confirmation dialog.
If you have active trusted recipients, payments in their favor within the specified threshold will not require additional confirmation.
When performing a group signature, you can confirm several documents with Vestochka app, BIFIT MAC token or a confirmation code generated by OTP token or received via SMS.
Sending payment orders via email
Note: This feature requires email delivery permissions.
You can send payment orders in printed form via email, for example, to confirm payments with contractors.
Steps to send payment orders:
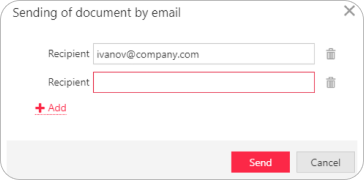
- Go to Ruble documents → Payment order. Select the documents and choose Send by e-mail from the context menu. A single email can include up to 50 documents.
- Enter the recipient's email manually or select it from the dropdown menu of previously used addresses. To add multiple addresses, click Add. To delete an address, click Delete.
Previewing documents
Before printing, you can preview the document using the context menu (the Preview option) or the Print button on the action bar on the document form (click the right side of the button and select the required action in the dropdown menu).
Saving as PDF/RTF
You can save a document for printing on your computer in PDF/RTF format using the Save as... option in the context menu or on the action bar. Multiple documents will be saved in a single file, each on a separate page.
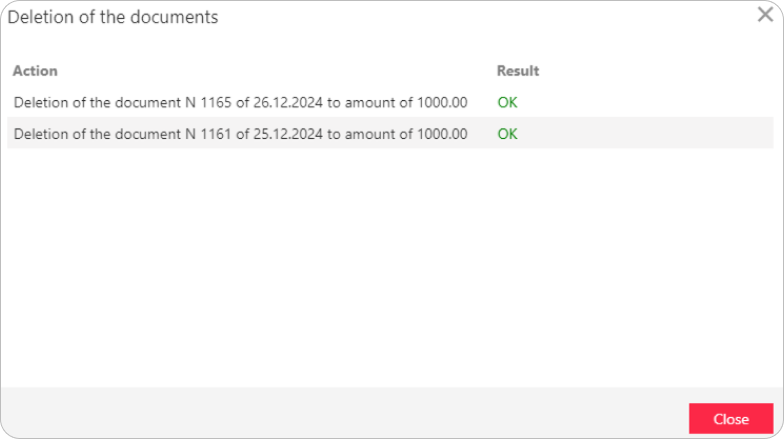
Deleting documents
You can delete documents in the following statuses: New, Signed, Requires confirmation, or Rejected. Use the Delete option in the context menu or on the action bar.
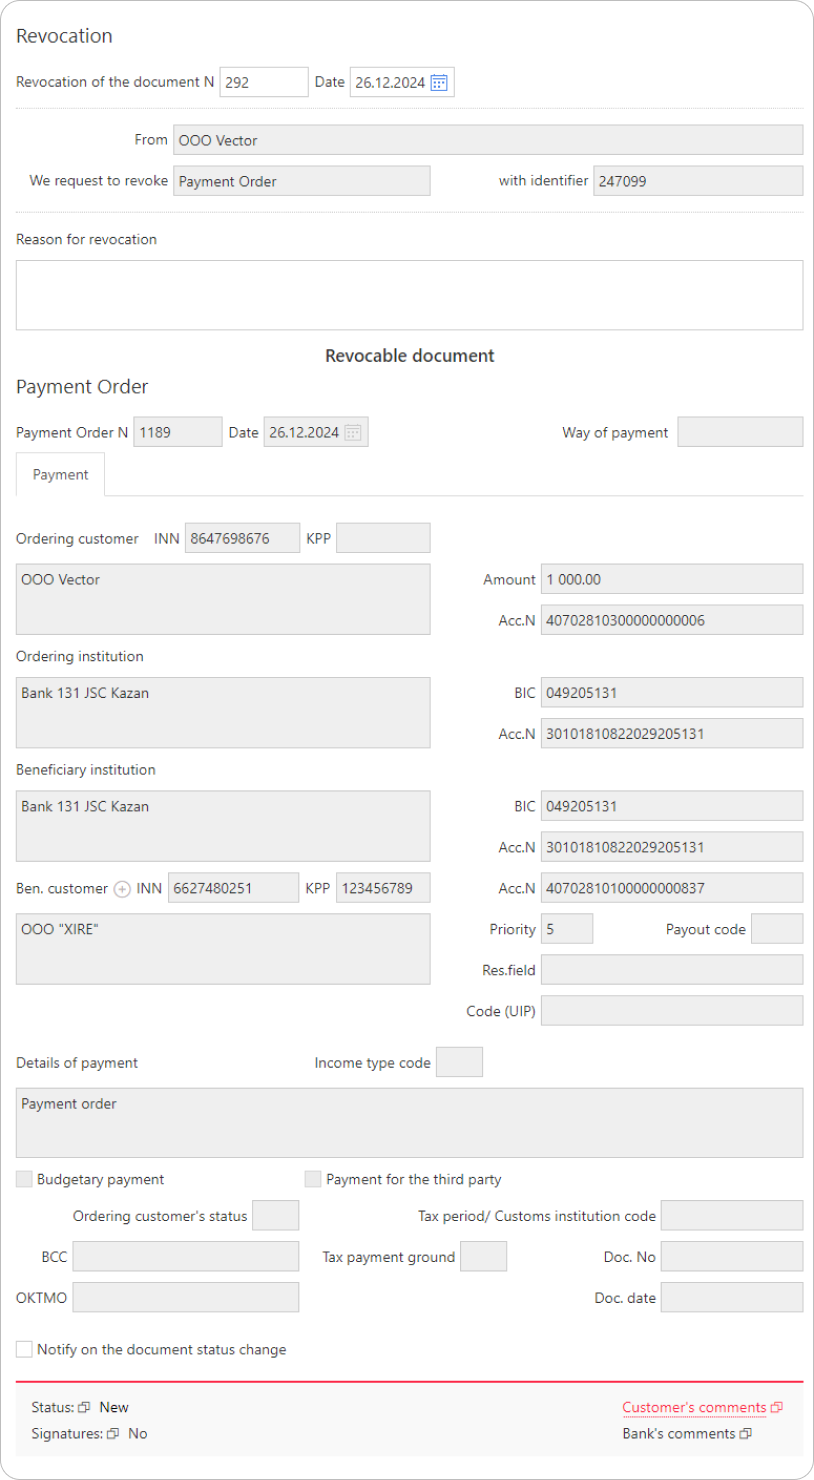
Revoking documents
Documents in the Delivered, Processed, and Executed statuses can be revoked.
To revoke a document, do the following:
- Enter the menu section containing the document you want to revoke.
- Find the document to revoke.
- Call the context menu of the document and select Revoke. The document revocation form will appear. Most fields are filled in automatically and cannot be edited.
- If necessary, edit the document number and date.
- Specify the reason for revoking the document.
- Click Save. The document will appear in the Document revocation menu section, where you can track its status.
In the Document revocation menu section, sign the revocations to send them to the Bank.
If the original document has not yet been moved to the Processing status, the revocation will be completed automatically.
Performing group operations
To perform a group operation, select multiple documents in the list and click the desired button on the action bar.
Available group operations:
-
Save as PDF/RTF: a file containing a printed form of each document selected in the list will be generated.
-
Sign: signing of a large number of documents is performed in chunks of 50 documents each. The result of the operation will be displayed in the Signing of documents dialog box. An error in signing any selected document may mean that either the status of this document is not New or Signed, or there is an error in the document structure (for example, the date of the document is less than the current date). To view the error, double-click the appropriate line in the Signing of documents dialog box.
If necessary, group signing can be interrupted by clicking the Stop button in the Signing of documents dialog: the current chunk (50 documents) is signed in full, and the next chunk will not be signed.
-
Preview the printed document form.
-
Print documents.
-
Delete documents. The result of the operation will be displayed in the dialog box.