Exporting documents
Exporting a statement
To export a document, select it and click the Export button on the action bar or select the corresponding item in the context menu.
You will see the following export options in the context menu:
-
Export: the system will prepare the statement in the format specified in the service settings. For more information, see the Settings section.
-
Export as...: available formats: 1C, iBank2, CSV. When exporting a statement in the UFEBS format, three files are generated for each date of the specified period:
- the statement
- credit payment orders
- the appendix to the statement
If there is no account activity, only the statement file is generated for this date.
If you perform export for all accounts, the three above mentioned files will be generated for each account on each date of the statement period, alongside with a report on all accounts for that day.
-
Export in: select the required statement export format (1C, iBank2, CSV, UFEBS, or Excel). The system will export the statement to the file specified in the service settings. For more information, see the Settings section.
-
Export statement with ES: export a statement signed with ES of the Bank's employee. The system will suggest to specify the path to the file of the exported statement, the public key file is saved to the same folder. The default format of the exported statement is iBank2. Files with certificates are named
<key_id>.xml, where<key_id>is the identifier of the ES verification key. -
Export for selected accounts: in the dialog box that appears, select the accounts for export for the selected period and click Export.
Exporting information on account transactions
To export account transaction information and the ES verification key certificate that was used to sign the accounting record from the received statement, click Export in the Information on transaction window. ES verification key files are saved in the same directory as the file with exported account transaction information, and files with uploaded certificates are named <key_id>.xml, where <key_id> is the ES verification key identifier.
Exporting the Contractors and Beneficiaries directories
When exporting the Contractors or Beneficiaries directory, a dialog box to specify the file path will appear. Specify the necessary folder and click the Open button or select the text file into which the directory will be exported.
Exporting SMS statistics reports
When exporting SMS statistics reports, a dialog box to specify the file path will appear. By default, the name of the exported General report file is: SMS-Banking. General report from <report receipt start date> to <report receipt end date>. For the exported Detailed report file: SMS-Banking from <report receipt start date> to <report receipt end date>. The export format is CSV.
Exporting a statement and/or a register in the Excel format
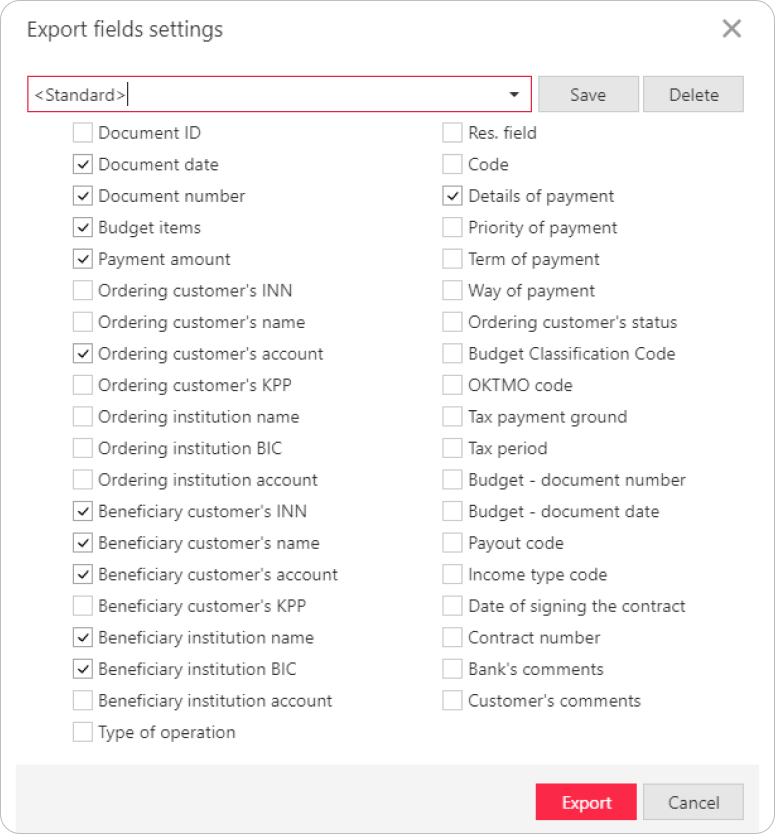
To export in the XLSX format, select a document for export: a register of payment orders or a statement. If you want to get a selective list of payment orders from the register or account transactions from the statement, select the necessary entries in the list. Select Register → Export to Excel... to export the register, or Export to Excel... to export the statement: the Export fields settings dialog box will appear, where you can set up the fields of the exported Excel file.
The Export fields settings dialog box can have a different set of fields for the payment order register and statement. Check the required ones and, if necessary, save the specified Excel file settings. To do so, enter the name of the preset and click Save. You can select the saved preset from the dropdown list during the next export of a register or statement to Excel. Click the Export button. A message indicating the directory with the exported files will appear.
